
News

How to Polish Stainless Steel to a Mirror Finish: Step-by-Step Guide
 2025.09.09
 Industry news
Stainless steel is prized for its durability, resistance to corrosion, and sleek aesthetic. But when it’s polished to a mirror finish, stainless steel transforms from a functional material into a statement of elegance. Achieving that reflective, flawless surface requires patience, the right tools, and careful technique. Whether you’re polishing kitchen appliances, automotive parts, or decorative metalwork, this guide will walk you through the process step by step.
What Does “Mirror Finish” Mean?
A mirror finish refers to the highest level of polish achievable on stainless steel. Unlike brushed or satin finishes, a mirror finish has no visible grain or surface texture. Instead, the surface reflects light like glass, giving it a glossy, almost liquid-like appearance.
This finish not only looks impressive but also provides practical benefits: it resists dirt buildup, enhances corrosion resistance, and is easier to clean.
Tools and Materials You’ll Need
Before starting, gather the proper supplies. Using the correct tools will save time and produce professional results:
Protective gear: gloves, safety goggles, dust mask
Cleaning supplies: degreaser, microfiber cloths
Abrasives: wet/dry sandpaper (400, 800, 1200, 2000+ grit)
Polishing compounds: tripoli (coarse) and rouge (fine)
Polishing tools: rotary polisher, bench grinder, or angle grinder with buffing wheels
Buffing wheels: sisal (cutting), spiral-sewn cotton, and loose cotton wheels
Lubricant: water or a light polishing lubricant to reduce heat during sanding
Step-by-Step Process
1. Clean the Surface
Start by removing grease, dirt, or oxidation with a degreaser or stainless-steel cleaner. A spotless surface ensures abrasives cut evenly without embedding debris.
2. Sanding Out Imperfections
Sanding prepares the metal by removing scratches, weld marks, or mill scale. Work through progressively finer grits:
Coarse sanding (400 grit): Removes visible scratches and imperfections.
Intermediate sanding (800–1200 grit): Smooths the surface for polishing.
Fine sanding (2000 grit or higher): Prepares the steel for buffing.
Always sand in a consistent, overlapping pattern. Wet sanding can help reduce heat and prevent deep scratches.
3. Initial Polishing (Cutting Stage)
Attach a sisal buffing wheel to your rotary tool or grinder. Charge the wheel with tripoli compound, which cuts through remaining fine scratches. Work the compound into the wheel, then apply it to the steel with firm, even pressure.
During this stage, the surface will begin to shine but won’t yet be mirror-like.
4. Secondary Polishing (Coloring Stage)
Switch to a spiral-sewn cotton wheel and apply a finer polishing compound such as white rouge. Use lighter pressure and let the compound do the work. This step brings out a deeper shine, removing haze left from the cutting stage.
5. Final Buffing
For a true mirror finish, use a loose cotton wheel with jeweler’s rouge or a similar ultra-fine compound. Buff lightly in circular motions until the surface reflects clearly. At this stage, the steel should resemble a polished mirror.
6. Cleaning and Protection
After polishing, wipe the surface with a clean microfiber cloth to remove residue. To preserve the finish:
Apply a thin coat of stainless-steel polish or wax.
Avoid abrasive cleaners.
Regularly clean with a soft cloth to maintain the reflective look.
Tips for Best Results
Patience is key: Rushing through grits will leave scratches that resurface later.
Keep surfaces cool: Excess heat can discolor stainless steel. Work slowly and use light lubrication if needed.
Consistency matters: Always polish in overlapping passes to avoid uneven reflection.
Dedicated wheels: Use separate buffing wheels for each compound to prevent contamination.
Common Mistakes to Avoid
Skipping grit levels during sanding
Using too much pressure while buffing (causes swirl marks)
Not cleaning thoroughly between stages
Mixing compounds on the same wheel
Final Thoughts
Polishing stainless steel to a mirror finish is a skill that combines science and craftsmanship. By following the correct sequence of sanding, polishing, and buffing, you can transform ordinary stainless steel into a gleaming, reflective surface worthy of professional display.
Whether you’re restoring metal parts, crafting custom projects, or upgrading home appliances, mastering this technique will give you results that truly shine.
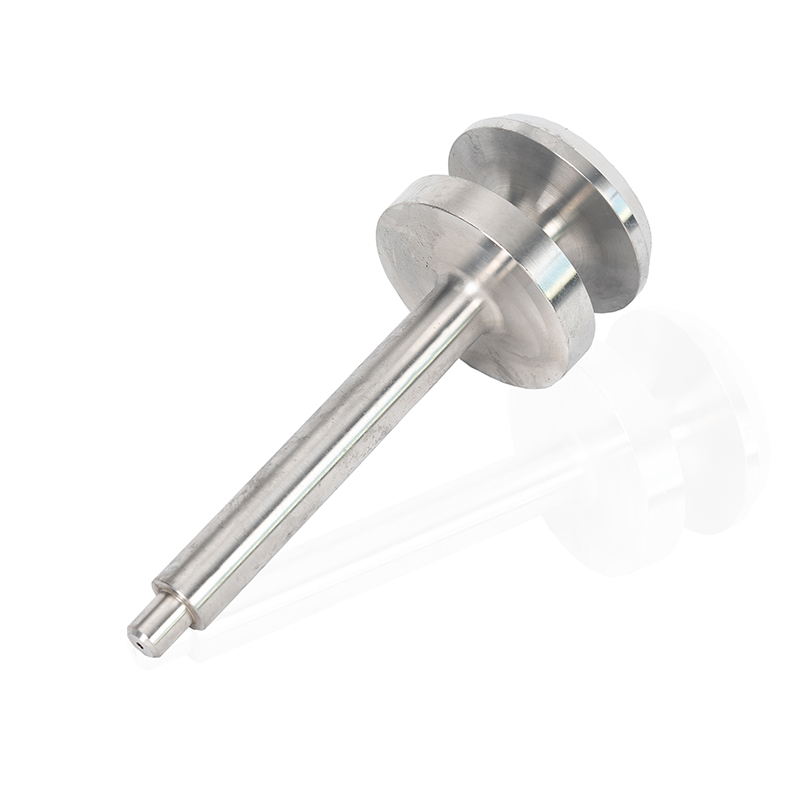
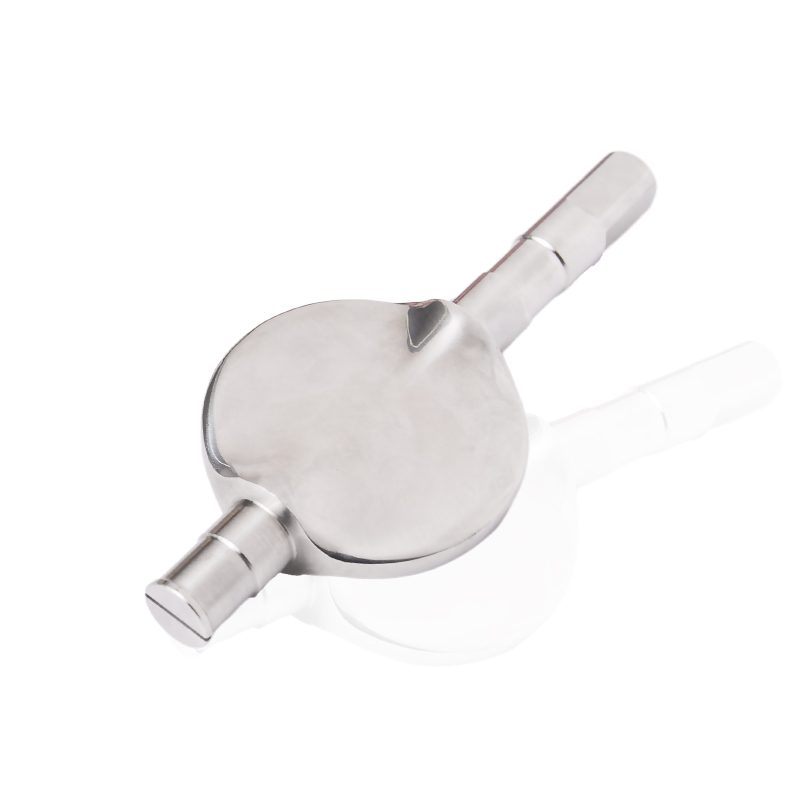
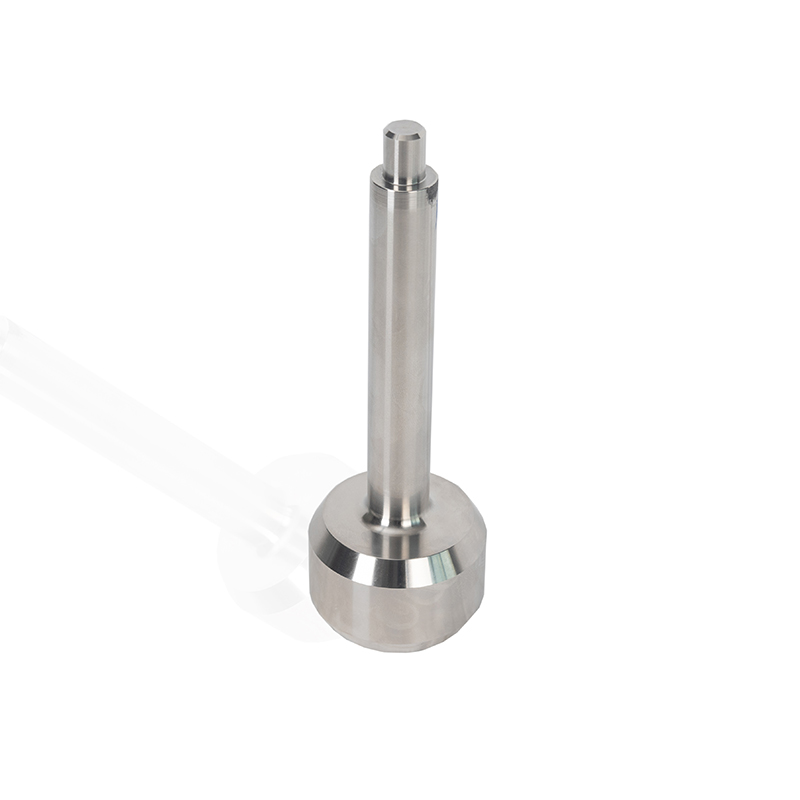
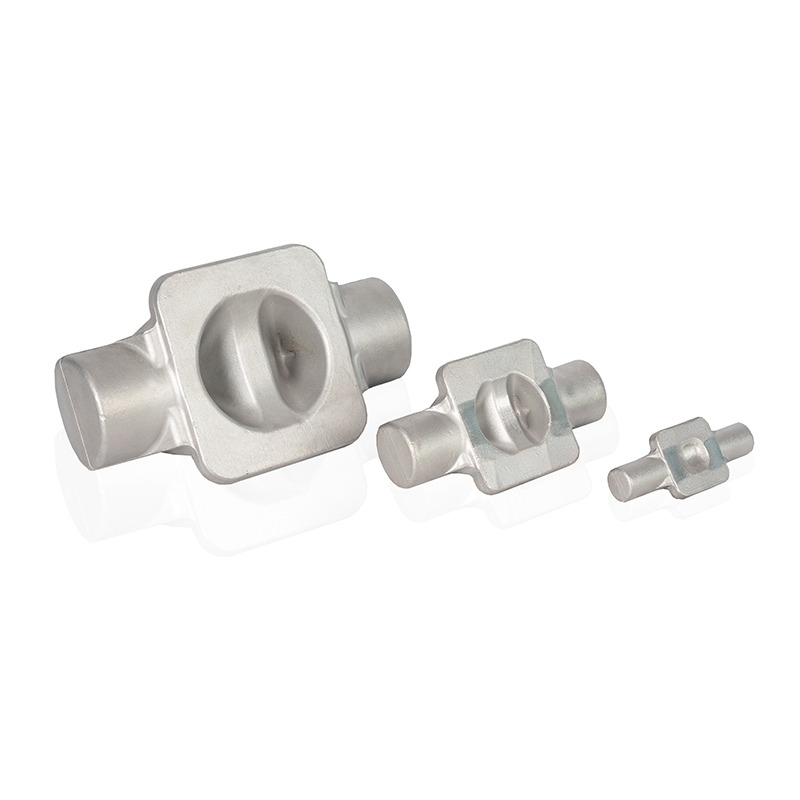

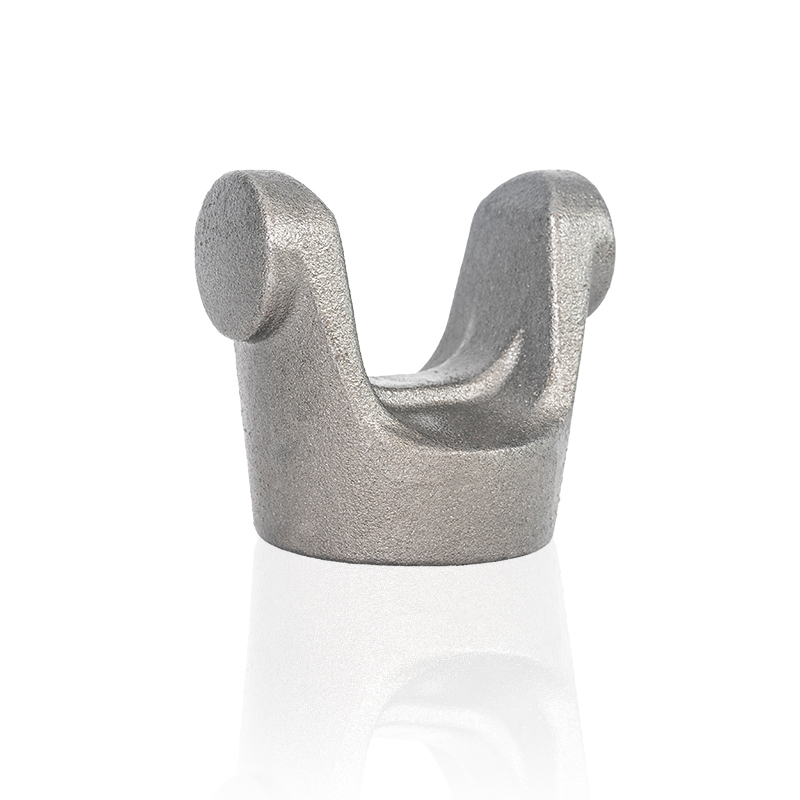
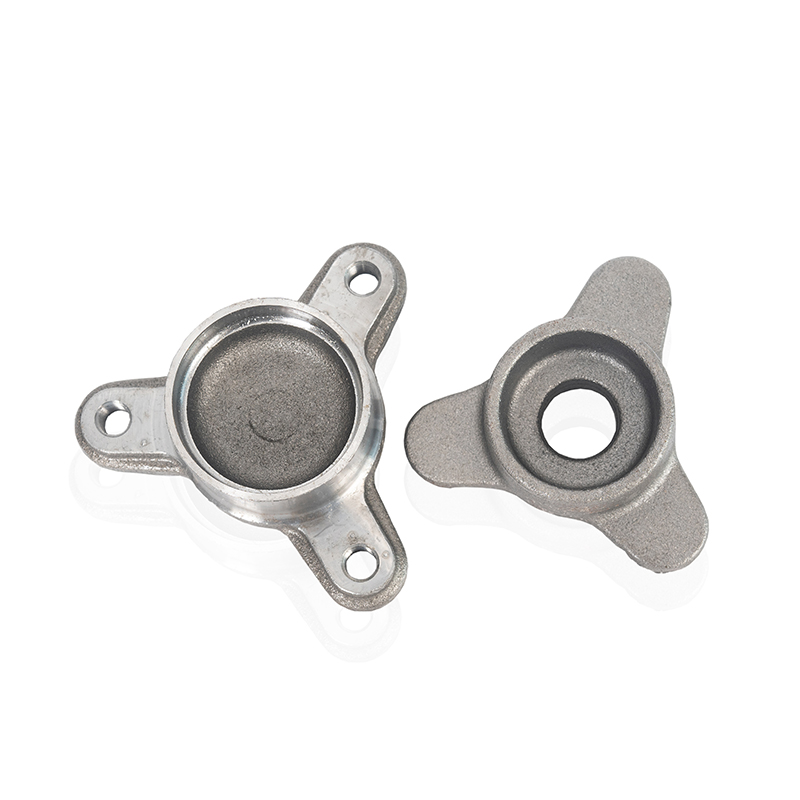
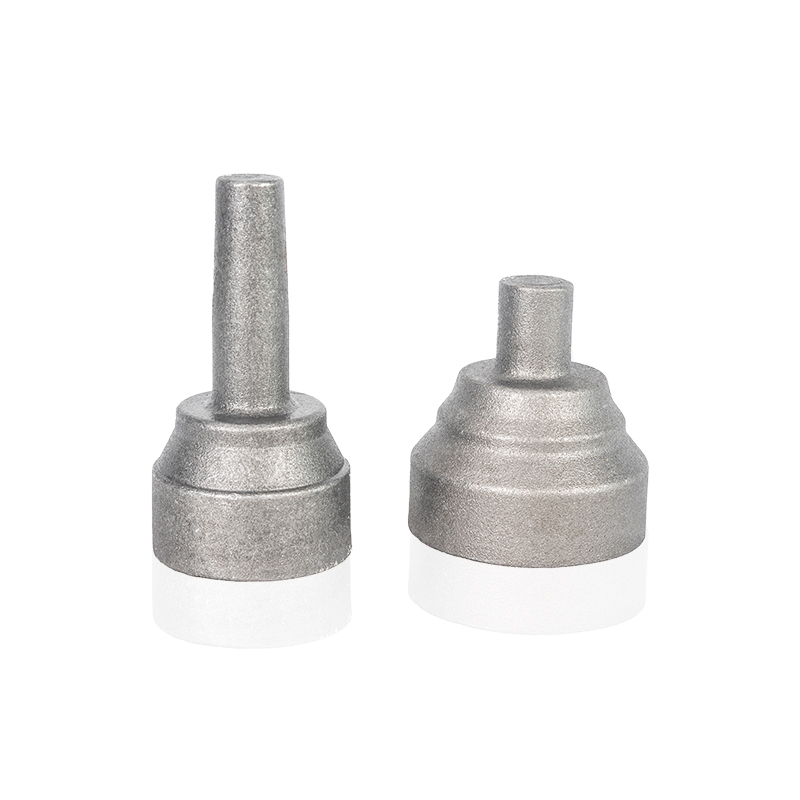
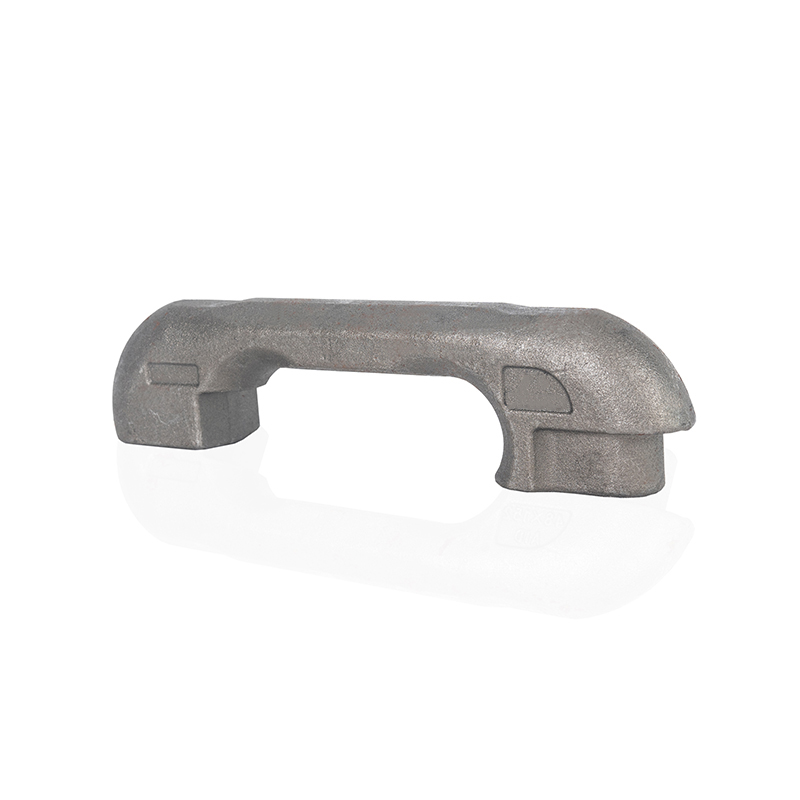
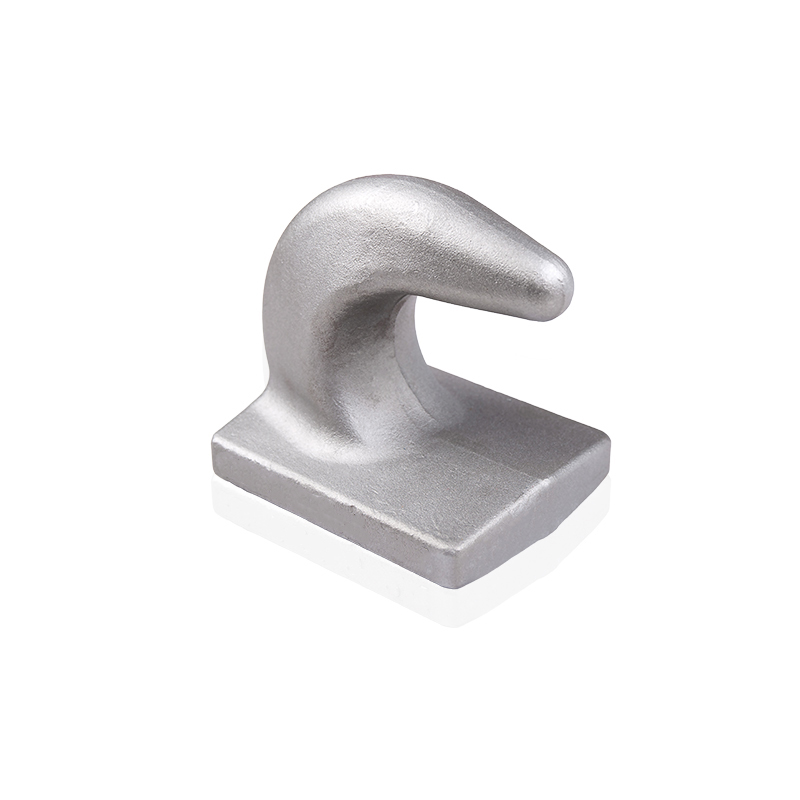


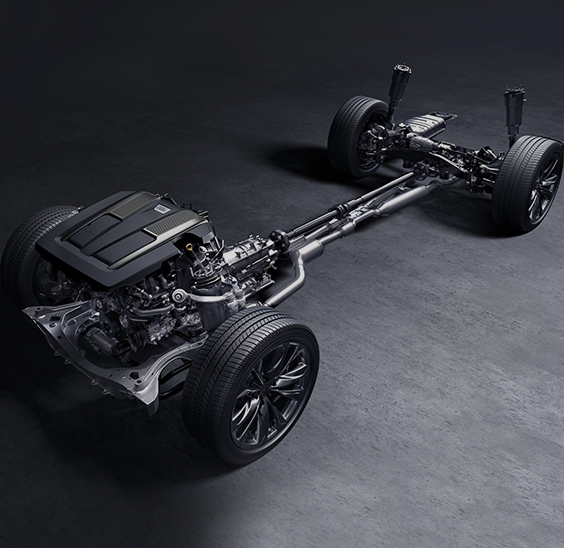
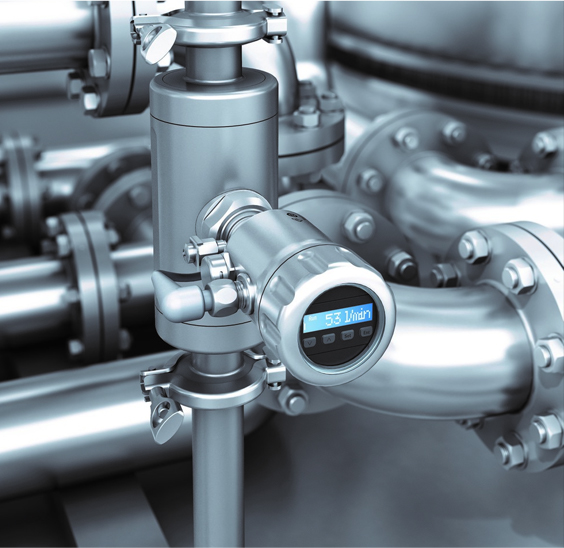
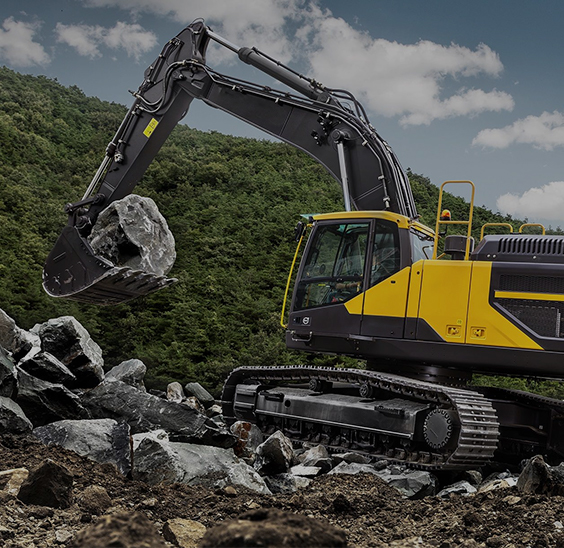
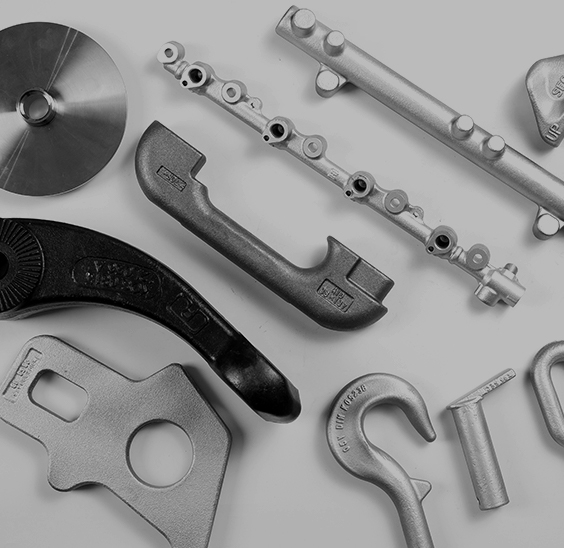
Our products primarily involve the production of forged components for the automotive industry, construction machinery industry, industrial instrumentation industry, and fluid equipment industry. Custom forging parts manufacturers and forged components solution providers in China.
Product links
Contact Us
-
Address:No. 5 Junrong Road, Daitou Town, Liyang City, Jiangsu Province, China
-
Tel:+86-18021979887
